Friday, December 2, 2016
m4A3E8 keychain
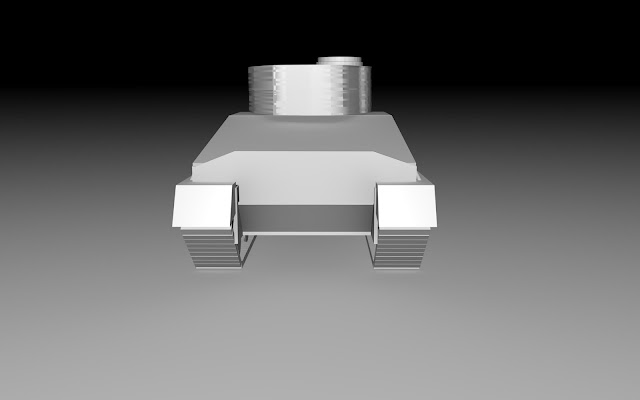
Hello fellow viewers again, this week I bring you my final design for my 3D printed project, the M4A3E8 Sherman. As you can see, you might ask me, where are all the colors and textures, well it will be 3D printed in either blue or white filament. But enough talk and filler, here is how I conquered this project and what the next project will be. To make this, I used circles, cylinders, stars, squares, and pyramids to make the suspension. I used the star for the cog wheel, which moves the tank forward and the circles for the wheels for the wheels. To make the track, I used squares and pyramids and bent the track around the cog wheel and the back wheel. Then I copied the suspension to the other side to complete the tank's suspension. I then started on the armor and used rectangles mainly. And created the front, side, and back armor of the tank and then the top. I cut a cylinder in the top by using a boole and used a Loft Nurbs to make the turret, which was difficult because I wanted to create the shape of the turret, but wasn't able to do so. So I went with a straight flat turret with the command hatch included. Finally, I did the main gun which is a 76mm high velocity gun. And placed it on the turret. I then edited every single object used to make the tank and made an STL file so it can be 3D printed. I will post a picture when the keychain is done and show the final result. So currently, I am working on my midterm project and it has to be in pieces and be 3D printed. So I am doing the IS-7 Russian heavy tank, which I will post in five days. Thank you for supporting my blog and I will have the next post up next week, goodbye.
Subscribe to:
Post Comments (Atom)


No comments:
Post a Comment